Friday, July 31, 2015
Tuesday, July 28, 2015
General swap and wow swap
Had all these pieces left over from the other wow swap, so I had to use them.....the frame is the only second layer...this is the awesome artistic set...love it...can be used for any celebration, not just a birthday...all I did was emboss in white and then use the blender pen....and glued the frame on...
This wow swap used the floating color technique ...all the flowers look different...embossed in white on shimmery white paper.....a z fold inside ...I added a small crumb cake pennant punch to pull the front out to open.....
on the zfold inside....I created a vase and flowers petals peeking out.....added the dsp....did that by creating a template and cutting them out and gluing on the card with our multi tombow...
used crumb cake , some sahara, some white craft ink and black last...used the aquapainter to float the ink....
the inside zfold is glued onto base card using only the last part of the zfold
Saturday, July 25, 2015
Wednesday, July 15, 2015
Timeless Elegance paper and Greeting thinlets
Gorgeous , Gorgeous paper to say the least....wonderful!! The Greeting edgelits are fun....your eyes fill in the closed spaces....and the elegant dots embossing folder....what can I say....lol
Would suggest using the elegant dots folder on lighter paper but in person it does show up and add to the texture of the card....
Monday, July 13, 2015
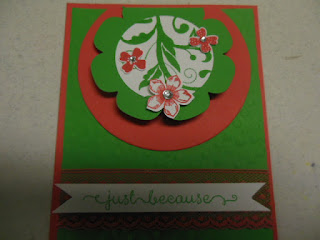
Flowering Flourishes , floral frames and Wild about Flowers.......
that ribbon is awesome ...love it and so light ..not bulky at all...many other stampsused ....a dozen thoughts for the phrase...petite petals and punch....pictogram punches and itty bitty accents...
used circle collection and rhinestone and the embossing folder Decoartive dots....
the green piece was cut longer to include space for the edgelit....and then scored at the 5.25 mark...
inside ....you could add a piece of white cardstock on the back to include a message, since the other piece of watermelon is 5.50 x 4
used circle collection and rhinestone and the embossing folder Decoartive dots....
the green piece was cut longer to include space for the edgelit....and then scored at the 5.25 mark...
Friday, July 3, 2015
Making my June paper pumpkin box
Here is the box .....I will try to give you directions .....unfortunately, I played around with the kit so much, I used all the cards....lol....but directions below should help...I guess I will now get two paper pumpkins so that doesn't happen again...lol
You start with this long white card base...it has a point at the end of the card base. That is the top of my box....
The sides are pieces of white 2.25 x 2.5....score 1/4 inch on three sides...do not score the one 2.25 side....that is the top side....
Subscribe to:
Comments (Atom)


